MoonRover Instruction
Introduction
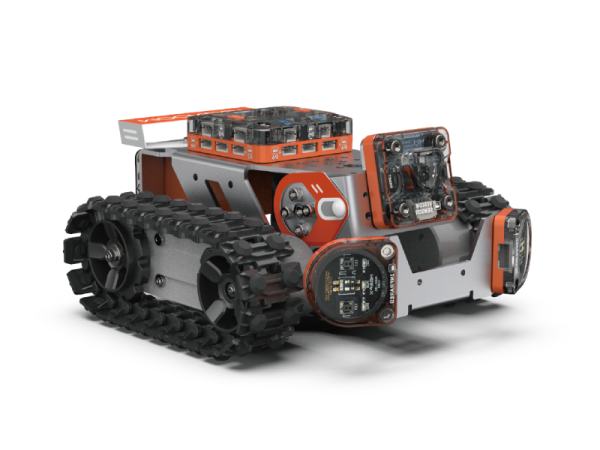
MoonRover is made of sheet metal body and hardware modules.It is drived by track chasis. The controller module is fixed on top of it, and connected to other devices with wires. Infrared module and vision module can be fixed on front or bottom of the body, and battery is fixed backwards.
MoonRover can be used to learn applications like avoiding obstacles, following line, auto driving and so on.
Specification
Size: 177 x 157 x 87 mm
Functions
Motion: head, chassis
Sense: vision, infrared, encoder
Program Examples
Download MoonBot Mixly examples
Avoid Obstacles
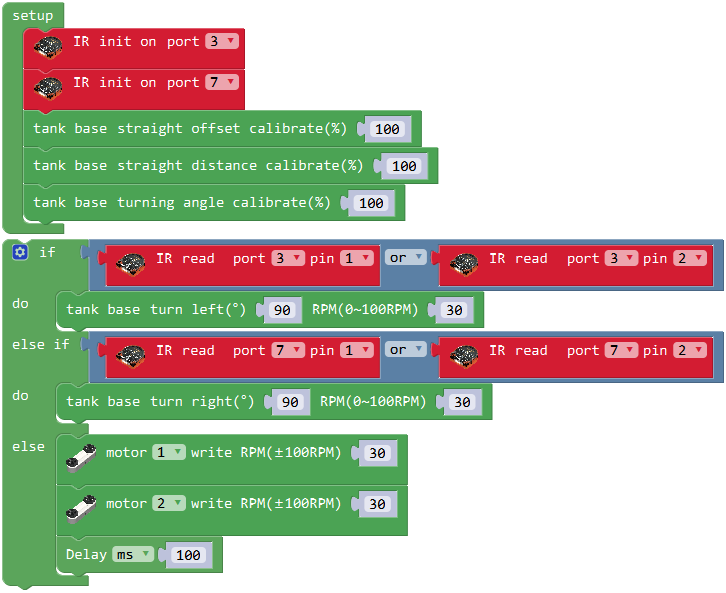
MoonRover becomes a obstacle avoiding car when 2 infrared modules are fixed in front.
Hardware connection: Build the MoonRover with the manual. Infrared sensor on the left is connected to P3 of the controller, and the other is connected to P7. Both sensors should be set to long distance mode.
Code introduction: In initial part, Two infrared sensors are set to the ports, and chassis is calibrated. In loop part, there are three status.When the left/right sensor detect obstacles, the chassis turn right/left.Go forward by default.
Auto Drive
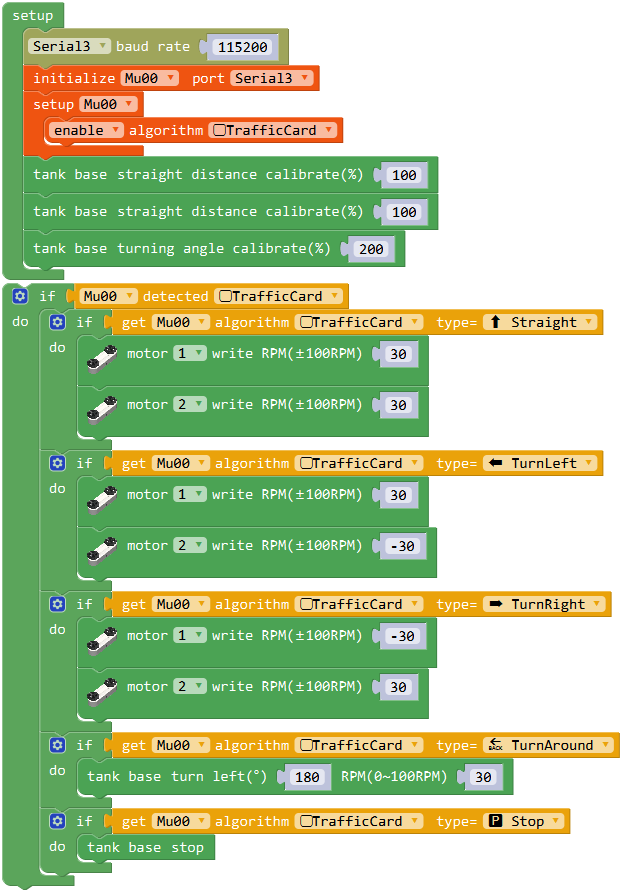
MoonRover becomes a auto driving car when using vision module to navigate.
Hardware connection: Build the MoonRover with the manual.The vision module is connected to P9 of the controller.
Code introduction: In initial part, vision module is connected to serial 3(P9 port), algorithm is set to traffic card and chassis is calibrated. In loop part, vision module detect traffic card.5 traffic card refer to 5 status, and MoonRover will move as the card shows.
Phenomenon: After downloading the program, turn on battery. Vision module will shine red after setup. Put a Forward card in front of MoonRover for about 20 centimeters and MoonRover will recognize it and go forward. Change card to change its status. Put different cards on the road to let MoonRover auto drive.