MoonBot Kit Firmware Upgrade Guide
This doc will guide users to upgrade firmware of MoonBot Kit Controller Module and Vision Module .
Upgrading Steps
Step One: Upgrade firmware of MoonBot Kit Controller
Step Two: Upgrade firmware of MU Vision Sensor 3
1. Connect Vision Module to MoonBot Kit Controller Module port P9, and connect the controller to PC.
2. Press and hold function button of Vision Module on the left, and then press Reset button once. Then release function button, and the vision sensor is in upgrading mode now.
Open MU Vision Sensor 3 upgrade software
flash_download_tools_vx.x.x.exeChoose
ESP32 DownloadTool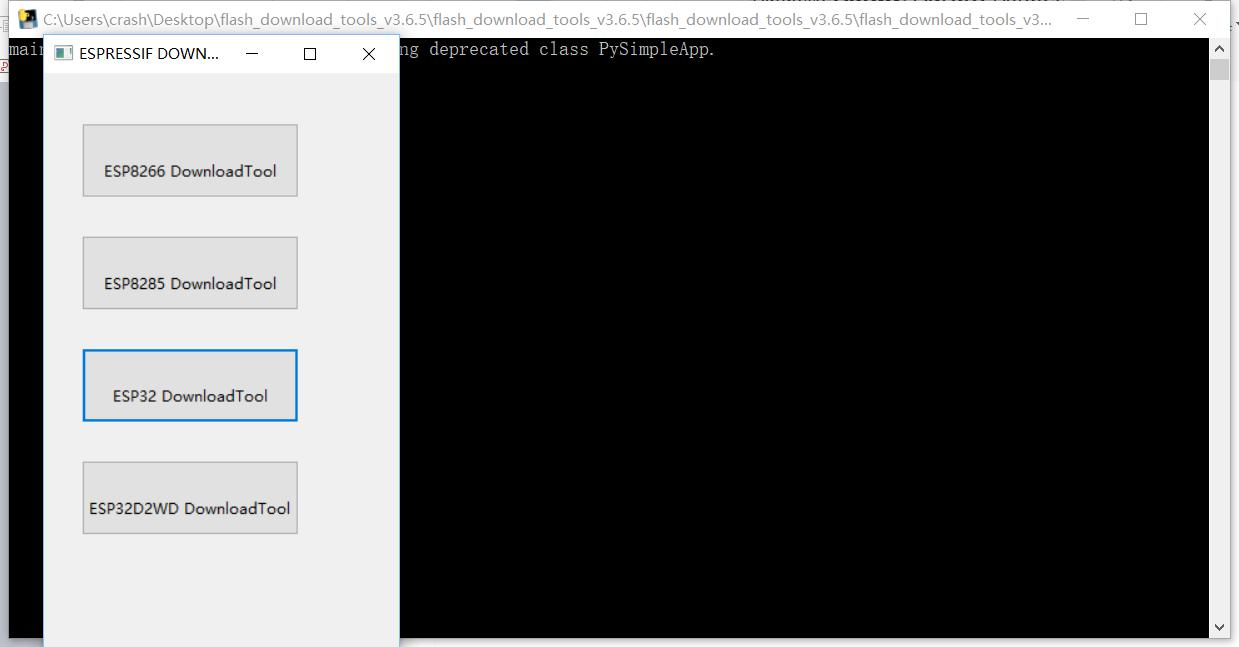
Change Settings
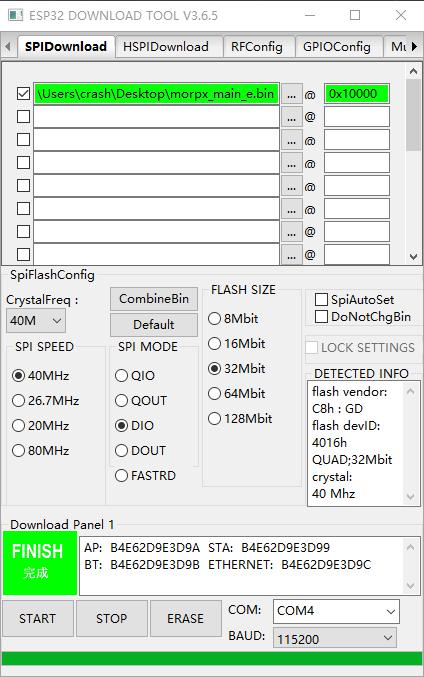
Note
SPI SPEED:40MHz
SPI MODE:DIO
FLASH SIZE:32Mbit
BAUD:115200
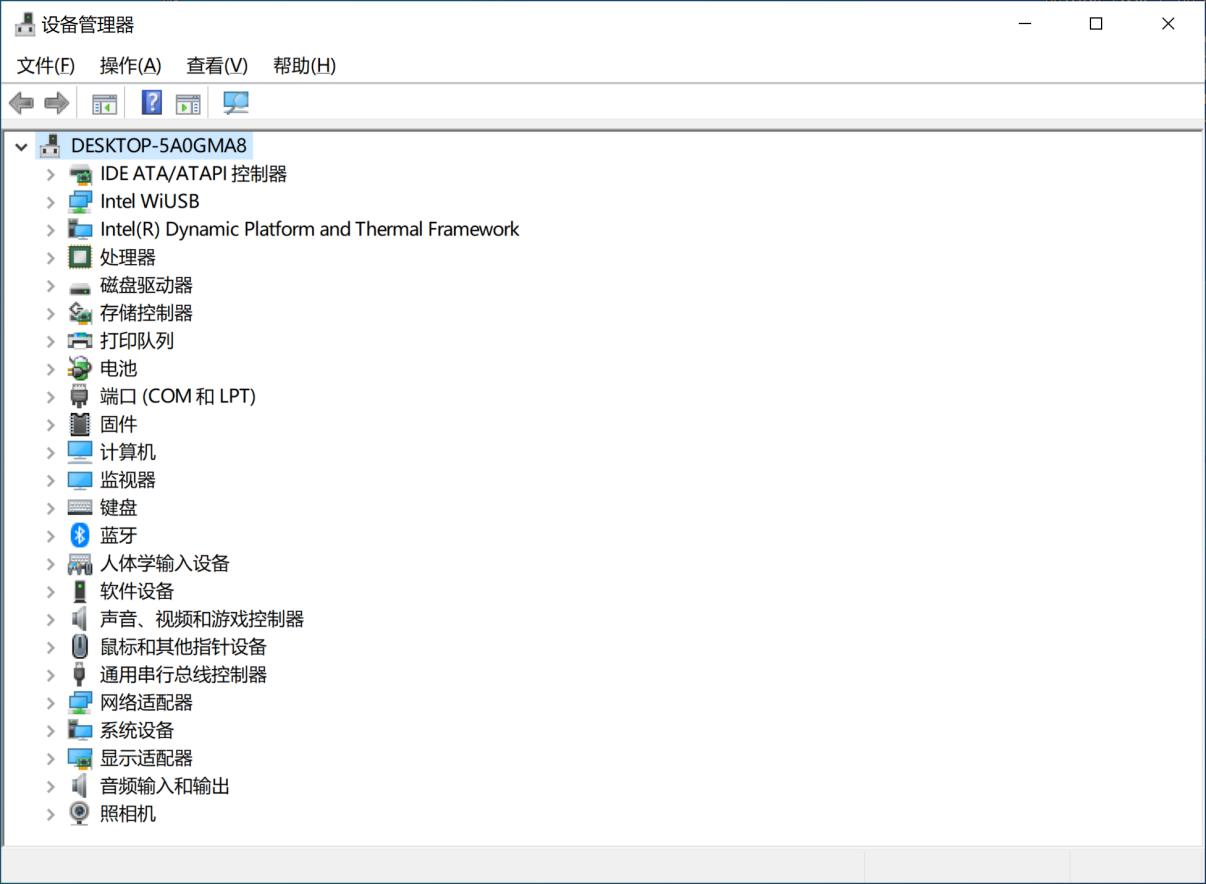
COM:connect to the right COM port, which can be found in Windows device manager.
Choose
...button and choose firmware file, and choose√to activate the file.Input address of the firmware behind
@, which is0x10000.
Attention
Do not forget to input the address or modify it. Otherwise you will damage the firmware order of the vision sensor. If it happens, please contact to Morpx support to solve it.
Phone number: (0571)8195 8588
E-mail: support@morpx.com
8.Press START button on the left-bottom corner, and click continuously
button B of MoonBot Kit Controller Module
until the software start burning firmware. LED on the right side of the controller turns green.
9.When the software progress bar is full, and shows FINISH, firmware downloading is complete.