APP Remote Control
First select the remote controller, and then chooses the corresponding robot form.
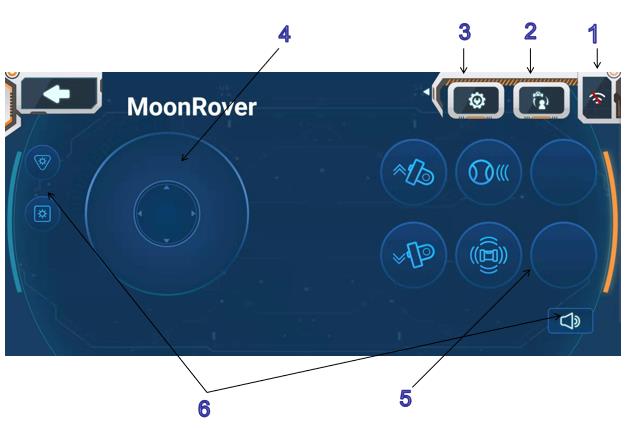
Introduction to Controller Use
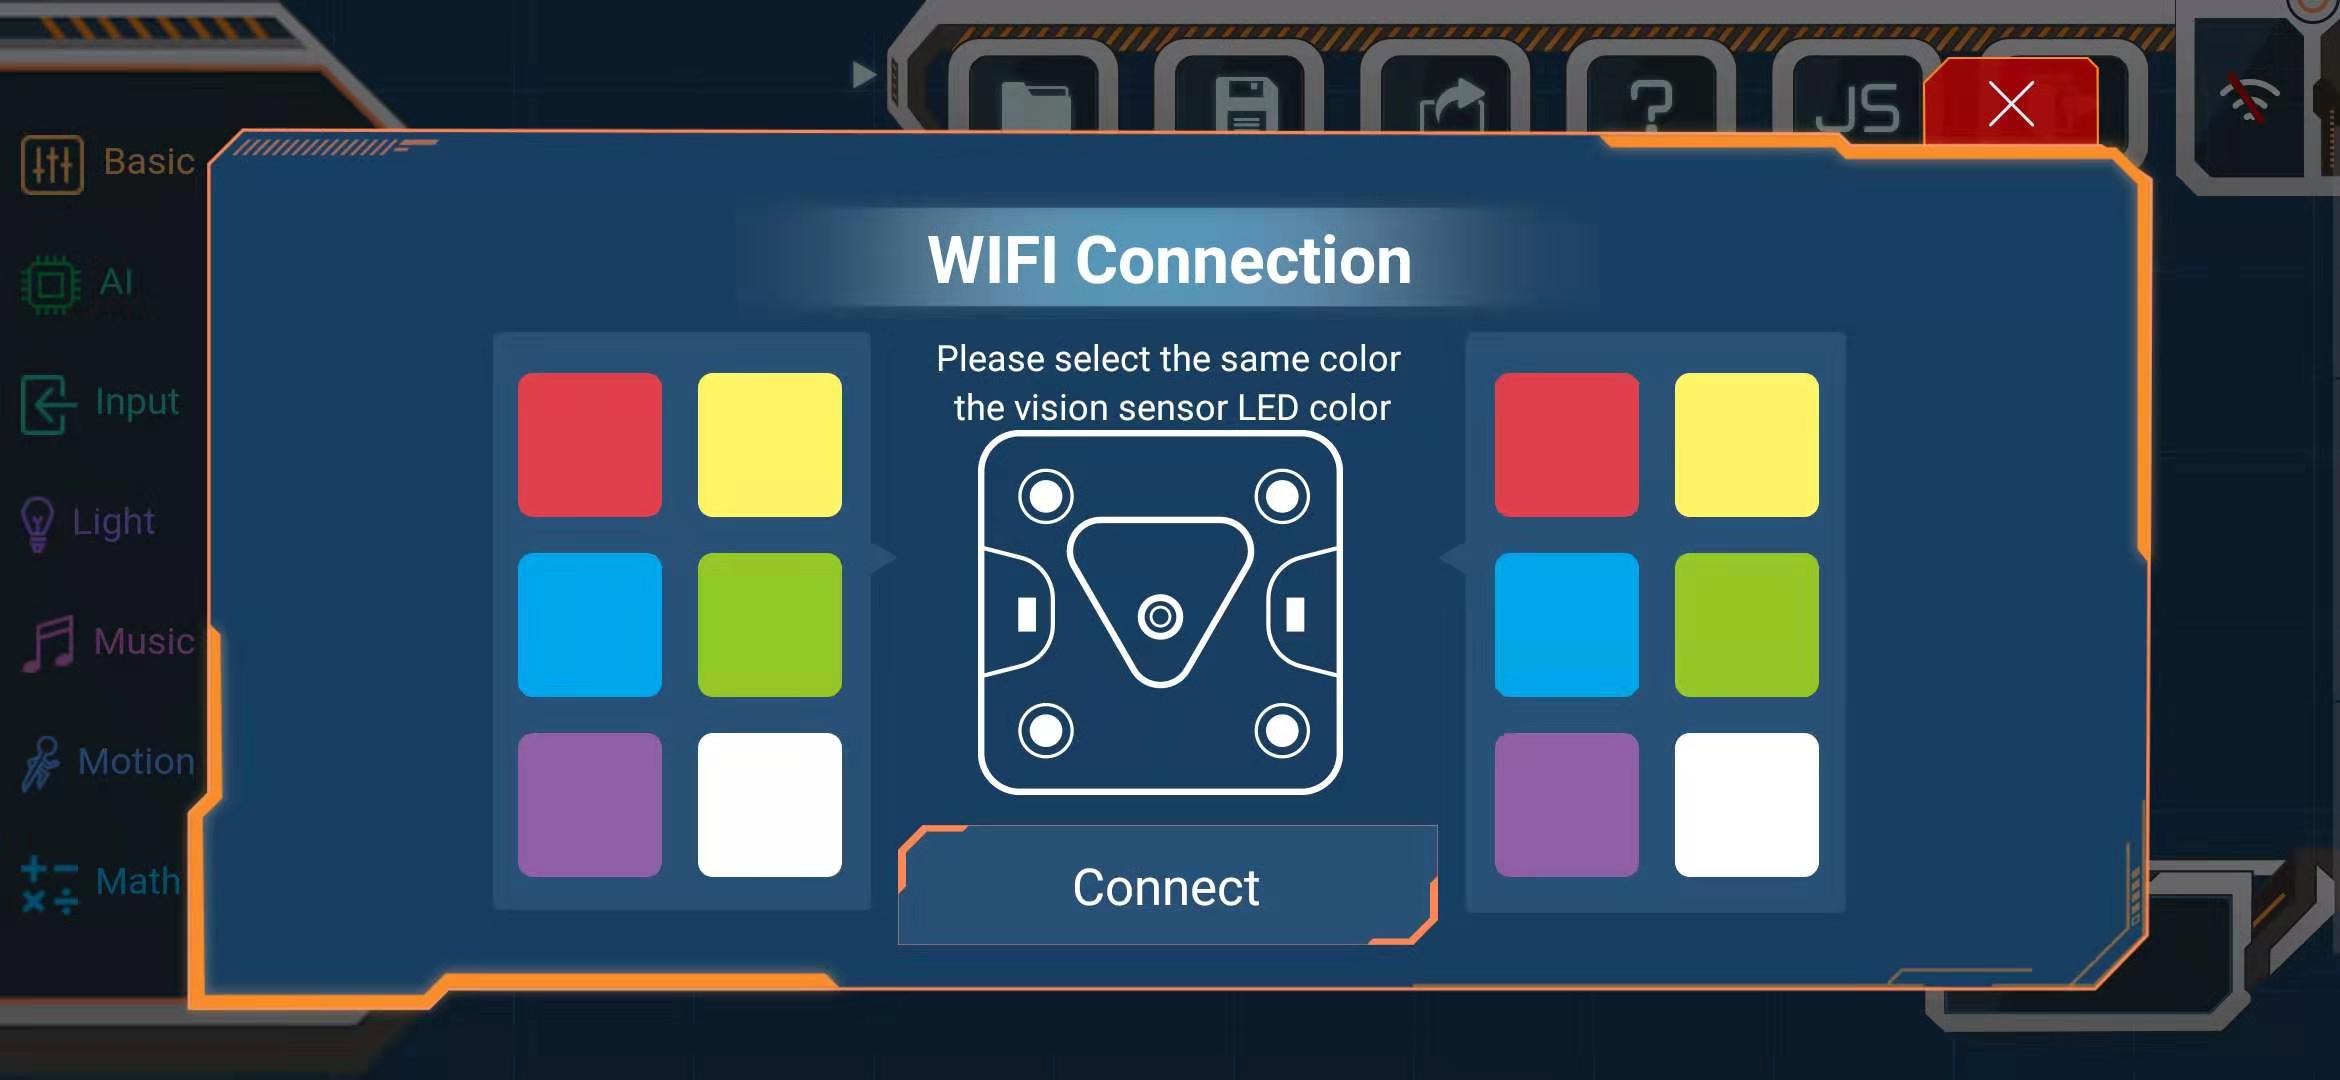
1.WiFi Connection
Click on the combination of color blocks that match the color of the LED light of the VisionSensor to start the connection.
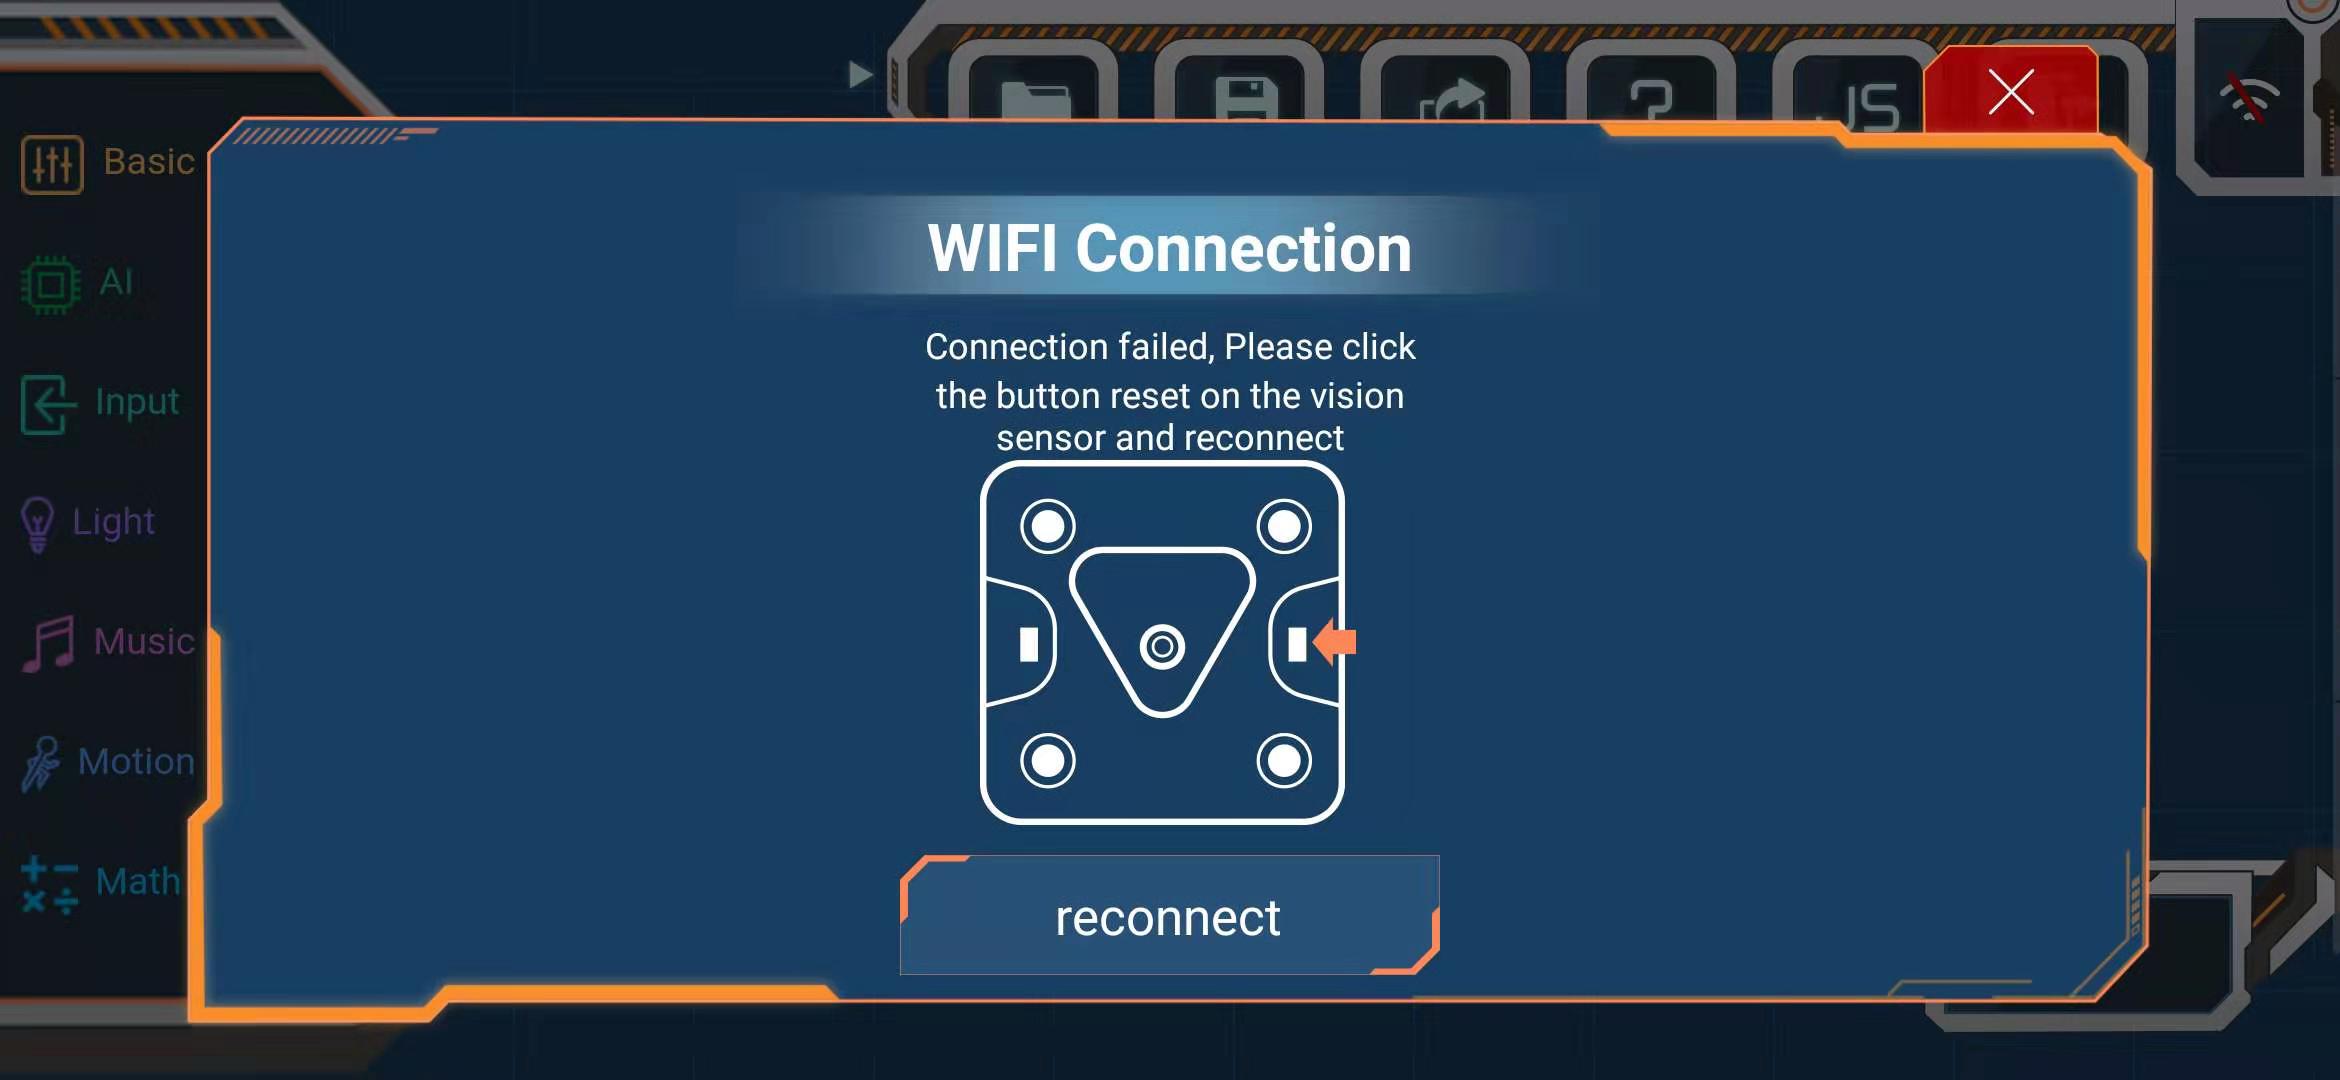
If the connection fails, press the visual module reset key to re-select the connection.
2.Robot form selection
Choose the corresponding form among the three.
3.Setting Function Button
Click on the Setup Function Key, the circle box below the Function Key is dotted.
Click on the dotted circle box to add, delete and replace each function into the circle box. Click on the Setup Function Key to complete the setup.
4.Wheel control
When WiFi is connected, the motion of the robot can be controlled by the wheel disk.
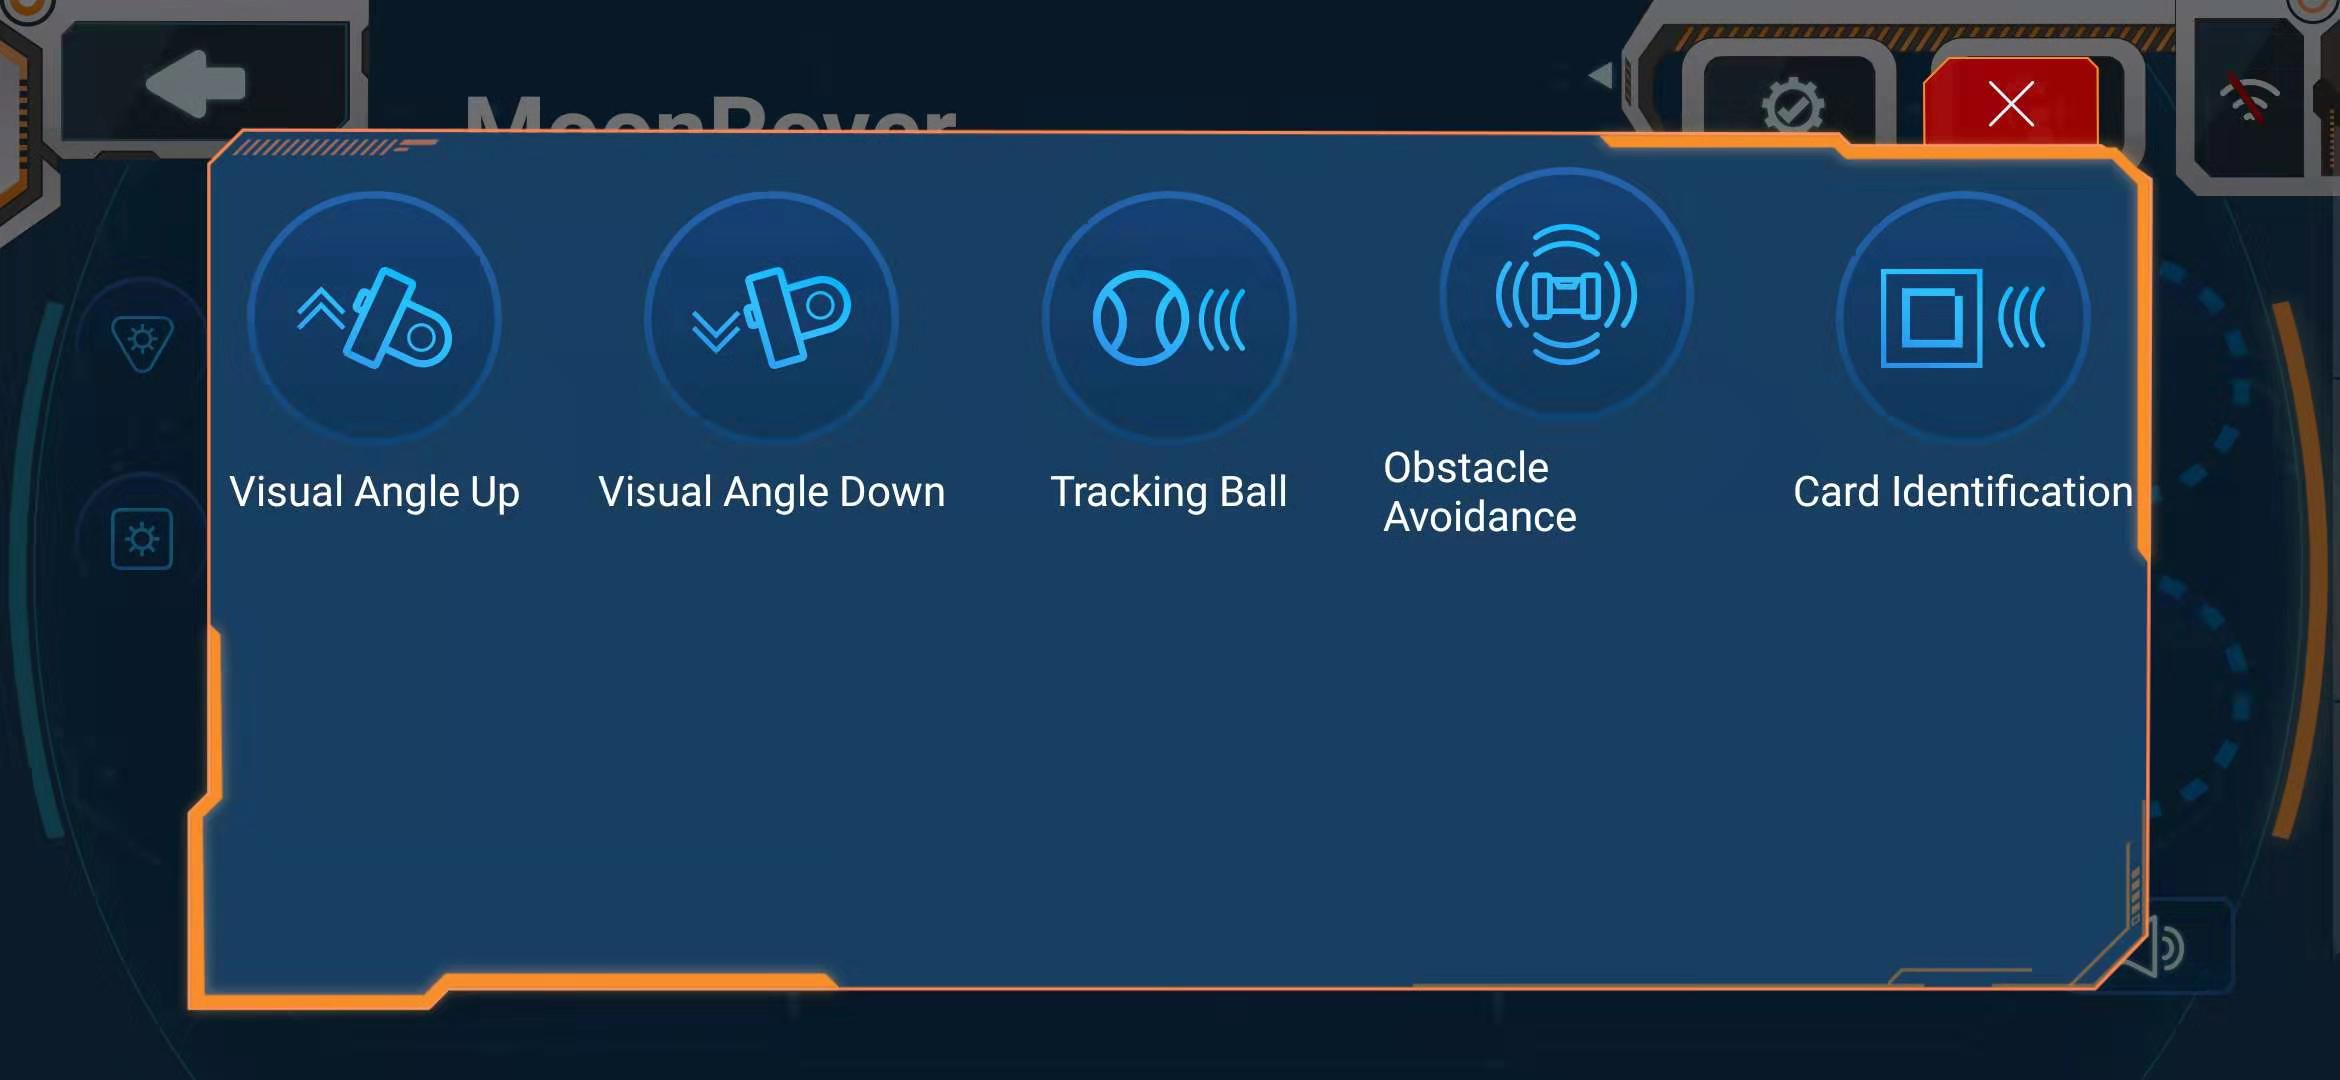
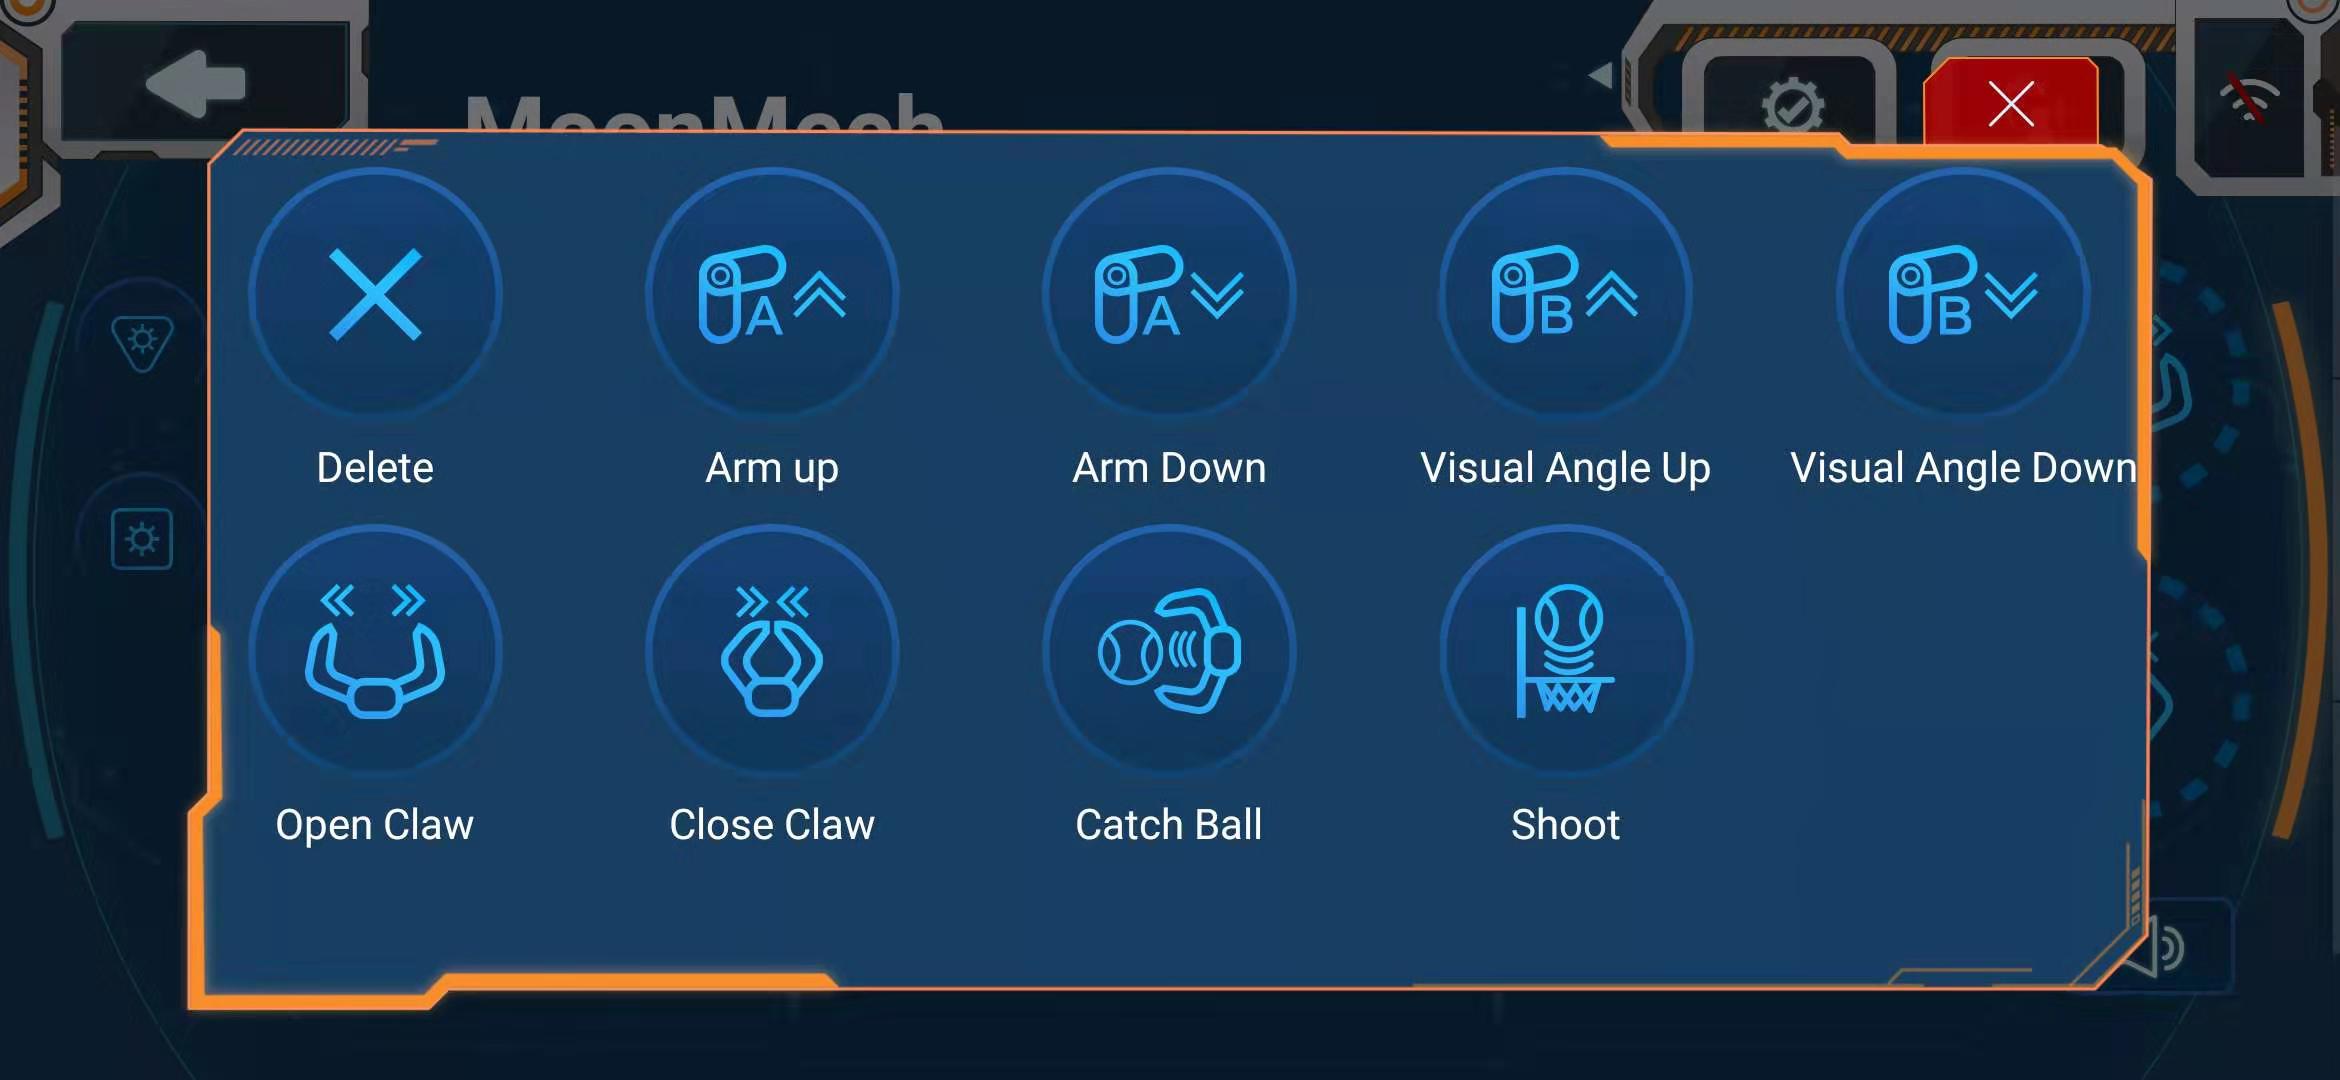
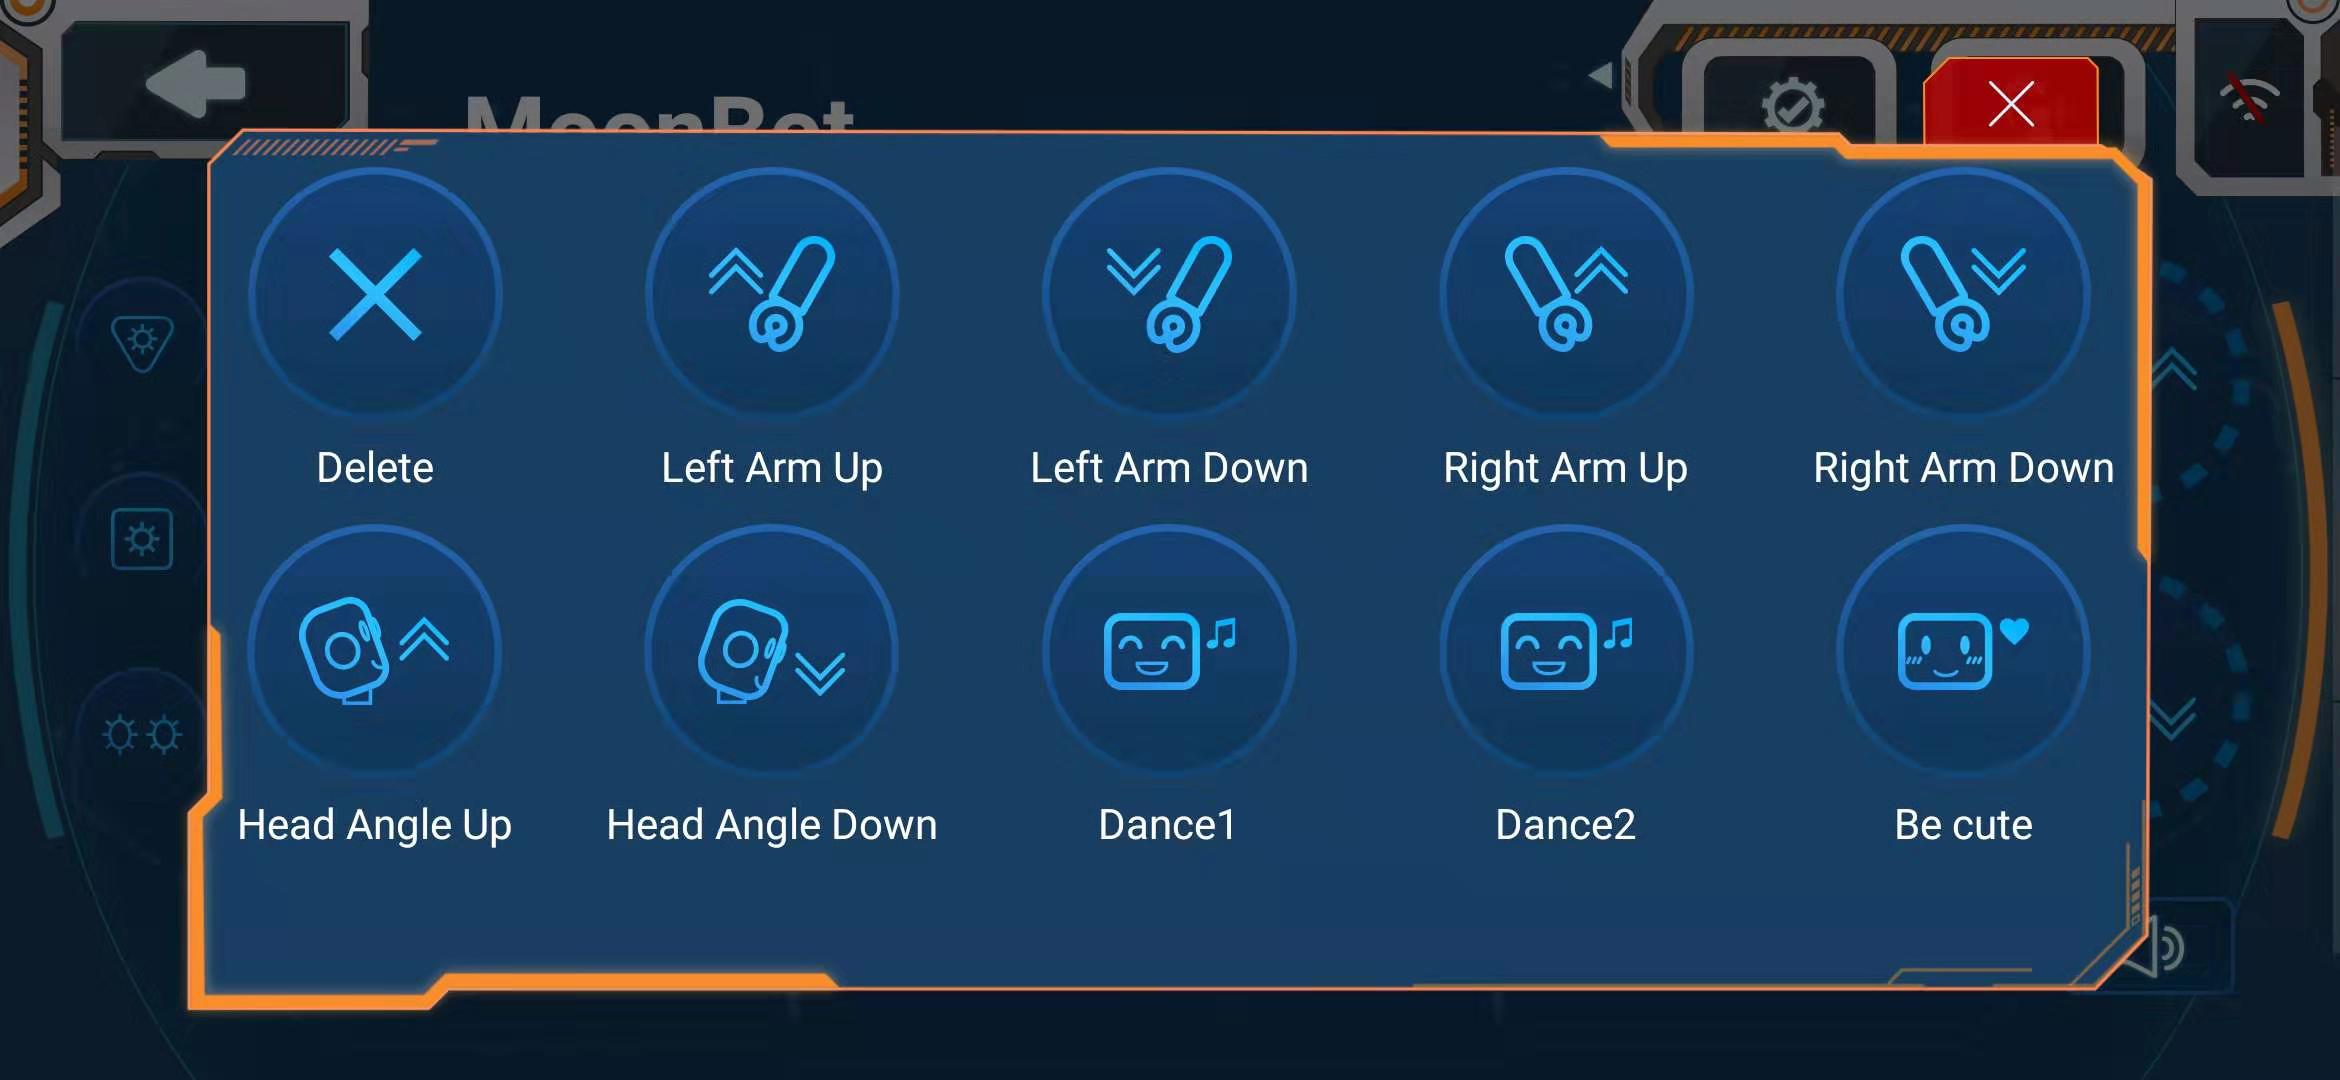
5.Functional Button
Click on the set function key to make the robot act accordingly. Some functions can be turned on/off.
MoonBotCar:Visual Angle Up/Down,Tracking Ball,Obstacle Avoidance,Card Identification
MoonBotMech:Arm up/Down,Visual Angle Up/Down,Open/Close Claw,Catch Ball,Shoot
MoonBot:Left Arm Up/Down,Right Arm Up/Down,Head Angel Up/Down,Dancer1/2,Be cute
6.LED Button and Sound Button
There will be lights/sounds when you click on the button.